
So when Rhonda asked me if I'd like to do a guest post I was racking my brain as to what I should do. I was really wanting to have something....you know....to trick you all into thinking I'm super cool. (That's just the kinda stuff one should admit once in awhile. It's good for the soul.) And I've been wanting to take on this awesome art technique that I've seen in blog land. So I was all like "Oh yeah that's the one! That's gonna make for good coolness factor!"
So I did it and was impressed with myself for attempting it and..........it was a total artistic FLOP.
But I decided that in blog land we often only show our best face and our most perfect creations and I thought for a change I'd share my mistake! Because life isn't perfect and sometimes artistic ventures may not work out the way you like. But I like to embrace these sort of things.
I saw this idea first here.
And the technique is called Photo Transfer. If you haven't heard of it before you essentially can transfer photos, or text or anything that you can print to paper onto something else...like canvas. If you HAVE heard of it before....please email me. Remember...this project was a flop. Hurry....run!
Then I did a search and I found this fab ladies blog and found out how to do the technique this way and this is what I based this project off of.
So here's what I used to do this:
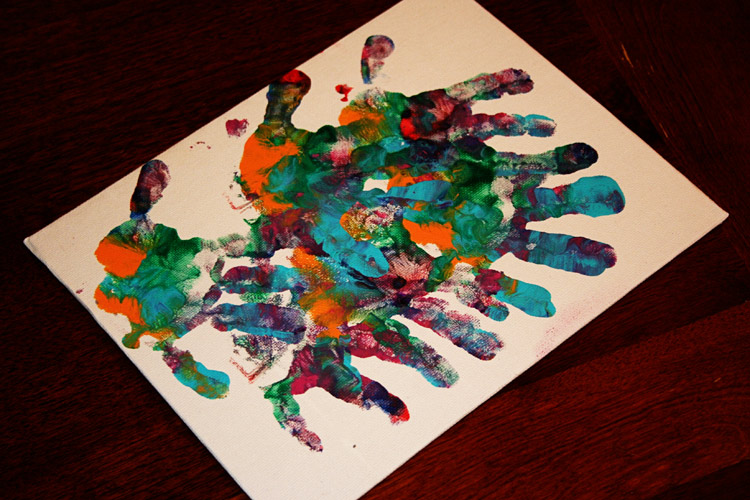
A painting that my cute kid did.
Some text that I printed out on my ink jet printer.

Some Gel Medium. (I found this at Michael's on my last trip out to the real world. Did I mention that I live in isolation? Yeah that's a whole other post kids...that's a whole other post.)

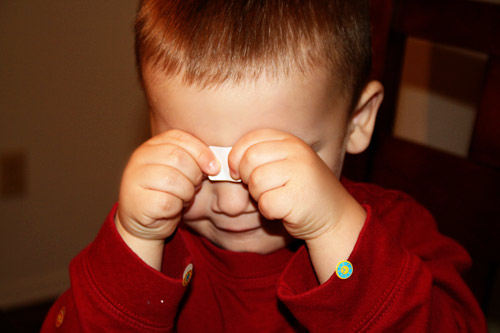
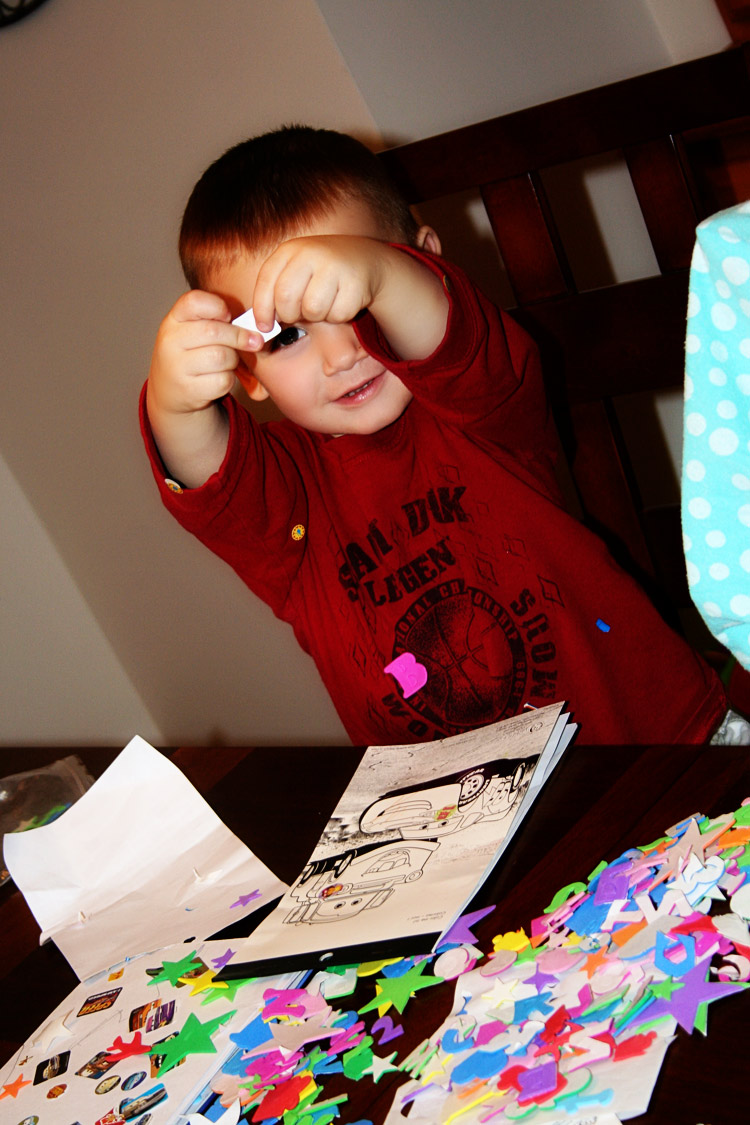
And a cute kid. Hi cute kid!
One of these isn't necessary for you to do this project...however it may also not be a choice you get to make.
Oh and a supply of stickers for the cute kid helps as well. Have 'atter buddy!
Now that the kid is taken care of the next step is to take some of the Gel Medium and just spread it all over your canvas.
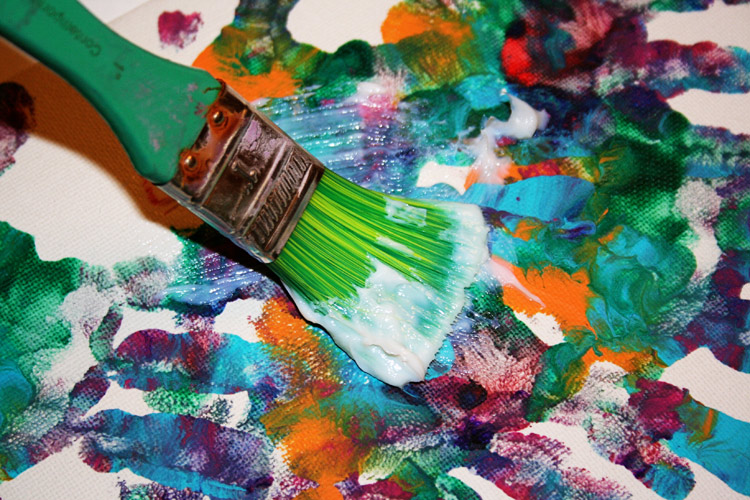
I started with a thin coat but I think you need to not be super generous but not be super cheap either. Clear as mud right? Thought so.
Next lay your print out - ink side down - on top of your Gel Medium covered canvas.
Just go ahead and pretend there is a photo of me doing this right here.
Then you need to smooth out the bubbles. Now it's probably best to use a brayer rollie pollie thingy but I forgot to buy one of those and since it's a hop skip and a -hour and a half plane- ride to the stores I opted for my pampered chef stone scraper.
It really wasn't that successful. This is when I started to get nervous. This is when the fact that this just may not work out started to creep in.
Once you've smoothed out the paper, let it dry for about an hour.
Then you have to do something super weird.
You have to wet it. You should use a spray bottle or something along those lines. But I like to do things wrong so I used a wet dish cloth.
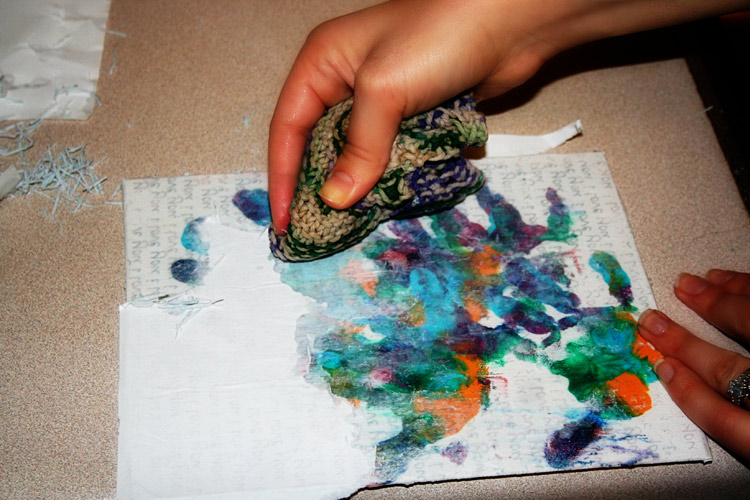
Then you have to rub away the paper and as you rub it off the ink will stay on your Canvas.

And what will be left is the ink, transparent on top of what you've created underneath.
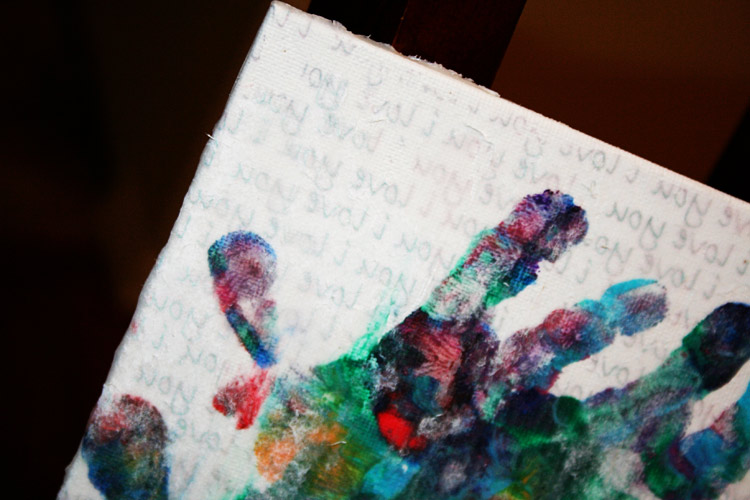
Okay did you see one of the major flops in this design? Look again....
"i love you" is backwards. Worst part is...I thought of this...went to print it out so that it would work out properly...re-thought it...and thought no no I did it right.
Yeah...dumb blonde moment.
Next thing that went wrong is that some of the text rubbed off and the color didn't pop out much because I couldn't rub the paper off properly. And then some of the Gel Medium needs to be cut off the edges.
Moral of the story....it just wasn't what I expected.
But with this "flop" I did some research and found a "fix" and a method that would work if you so wish to try this. I think it will be way better!!
And it comes in video form! Yay!
Because really....it does has a fun effect and looks super cool! You must go see Promise Tangman's blog and Lil Blue Boo's blog to see what I mean.
Sometimes it's fun to just think outside of the box and try something a little bit different. Be sure to watch on my blog....because someday.....someday I may get it right. Maybe........but I did another one last night and it turned out worse. But that was before I found the above youtube video! We shall see my next try someday!
Thanks so much Rhonda for having me. It was super fun to share my mistake with you all!
Happy creating....or flopping...whatev's!
6 comments:
First off what a cute painting Cute Kid, you are very talented buddy!! Second I can totally see how cute this is even if the print is backwards. I kind of like it being a little paler...makes cute kids work stand out more.You and Rhonda are both so creative!!
I can tell you this much...I need me a manicure!
Trial and error! I think it turned out great, despite the backwards print.
I didn't realize you could do this with an inkjet printer...I'd always thought you had to have a laser printer, so I'm just glad to learn I was wrong!
One of my cow-orkers calls a blonde moment, a 'pretty' moment. Kudos to you for trying something new. I think it was pretty cool even if the print was backwards!
if you 'flopped' this i can't imagine how terrible it would be if i tried it!
it still looks so awesome! i would have totally done something like that!
Post a Comment