Showing posts with label sewing. Show all posts

Thursday, October 07, 2010

In the Craft Room: The Lucy Apron

So this Apron.
Front and Back
This was what the party guests that came to Lucy's Bake Shop Party got instead of a gift bag. I found the material for clearance price at Marshall's here in Lethbridge. Both the pink and the gray. It was like $3 a meter. So super cheap.
Steps.
1. Cut out the shape for the apron of the pink. I had another apron that I used as a pattern for the shape, but really it's the chef apron shape. kwim?
2. Fold over the very bottom of the apron over and sew closed (to give it a finished edge) and sew on the strip of lace.
the lace trim
3. The sew bias tape across the chest top. You can see it in this picture. After you sew that on, start at the bottom left side start sewing the bias tape along the edge going up the sides and the leaving a loop at the top big enough for the heads and then back down the other side. (clear as mud?)
Modelling the apron

Adding the ruffle.
Cut your strip of gray long. I mean I made them 1.5 m long.
Fold them in half lengthwise and then sew down the sides and one edge so you have a long tube that is open on one end. Turn it inside out.
Iron it flat and then pinning it down, tuck so you get a kind of ruffle and sew it down, making sure you sew around the whole waste tie to get the end closed too.
The ruffles
Make sense?
If something doesn't make sense, let me know and I'll try and explain it better.
I made 8 of them in about 3 hours. Super easy. And i love bias tape. I wish I had some in every color :)

And look.... we've got one to share.
One extra
So let me know if you want it :)

Wednesday, June 09, 2010

In the Craft Room: The Ruffly Purse

So I made this a week or so ago and hadn't taken a picture to share it with you yet.
DSC_2954
It's my new purse I made. Notice the handles? Found them at my mom's house when I was "garage sailing" at her house :)

Close up of my ruffle....
DSC_2955

The cute material on the purse
DSC_2956

used to be a non flattering skirt that I found at the thrift store.
DSC_7532
I took of the waistband. Took out the pleats out. Sewed up the bottom. Added a lining in a matching fabric. Added the ruffle and sewed in the handles. And Viola!

i like it more as my purse :)
DSC_2954


Creations by Kara

Wednesday, May 26, 2010

In the Craft Room: Eli's Crib Pocket

This is a snapshot into Eli's room. It was already this marvelous color when we moved in. And I just happened to have this marvelous Amy Butler fabric that just matched so perfectly that I HAD to make something to put in there.
DSC_0384
I have hung a blanket over the side of my kids beds since I first had a kid. Then I can peek in to see if they are asleep or not without the light hitting them in the face. Or leave the room quietly without them knowing I left.

So I made this hanging thing
DSC_0386

That has pockets on the other side for books.
DSC_0387
I'm hoping that he'll start looking at them at 6am instead of crying and waking me up that early.
DSC_0383

I got the idea from a blog (which I can't seem to locate) but I adjusted it to fit my needs.
DSC_0379

I'm like that. Thinking about what I Need.
DSC_0382
Isn't this fabric the CUTEST :) But still little boy-ish!
DSC_0380


And regan told me I should stop posting so you all would see his post and comment on it. So if you haven't read it and commented, then could you go do that and boost his ego :) Thanks!

Tuesday, March 30, 2010

In the Craft Room: a Fancy Camera Strap (aka Camera Dress) & one to Giveaway!

This is a SUPER easy craft! Seriously just straight sewing (or relatively close to straight!) :)

You need two strips of fabric long enough to cover your camera strap. Mine are 35" long and 6" wide.
DSC_4720

Fold over both ends of each fabric twice and iron them flat.
DSC_4721

Sew down the ends with two rows of stiching
DSC_4723

Place good sides together
DSC_4725

Sew down both sides, adding a zig zag to finish off the edges.
DSC_4726

Turn it inside out
DSC_4729

And voila :)
DSC_4730

Slip it onto your camera and shoot away!!!
DSC_5858

I have one looking for a loving home.
Anyone want it???

Tuesday, March 23, 2010

In the Craft Room: The Ruffly Apron and a GIVEAWAY!

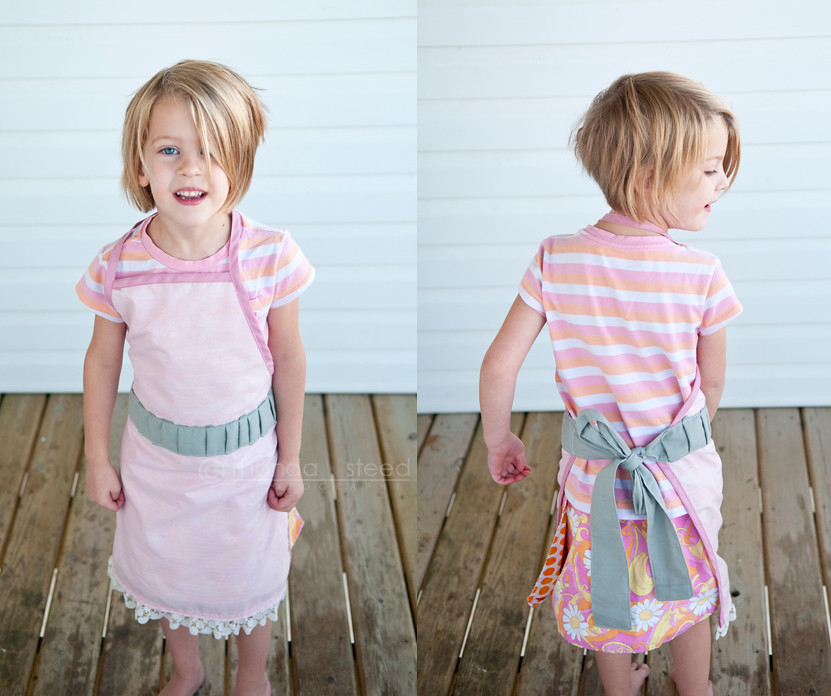
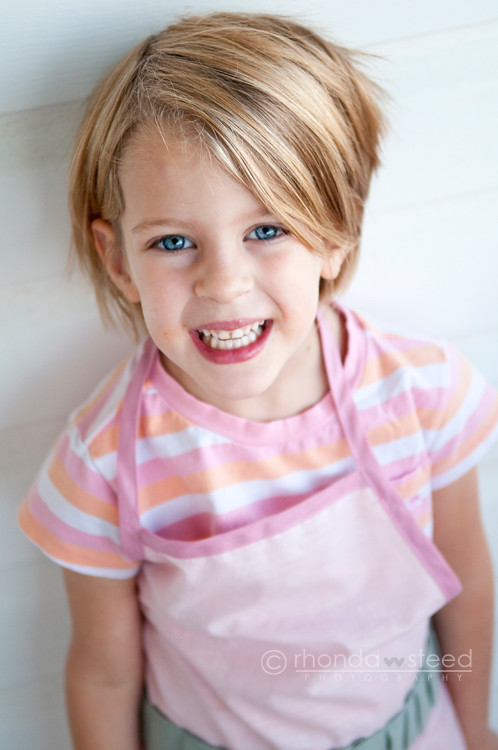
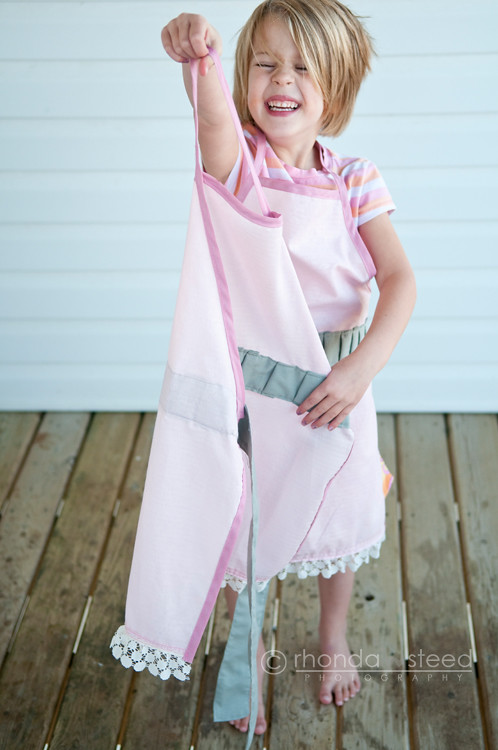
Since making the ruffly apron for Lucy's friend Amy's birthday,
RufflyApron

I decided to make an adult version. And I am going to try and explain how to make it. And then I'm going to open it up as a giveaway. So if you aren't going to make one and you just want to skip to that, then scroll down :)

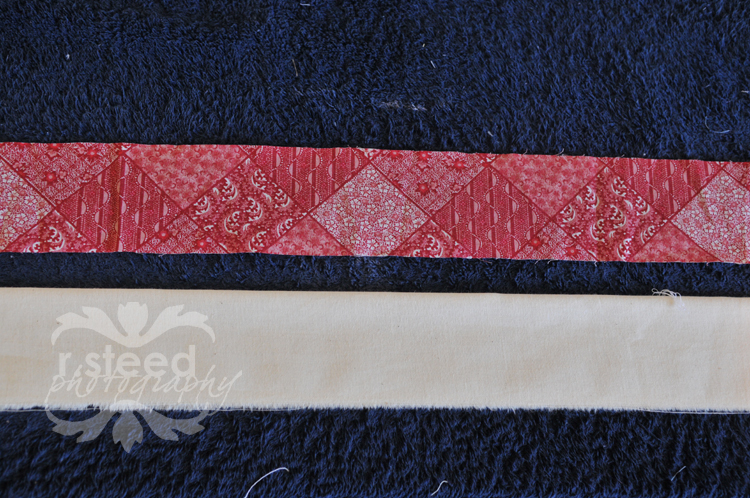
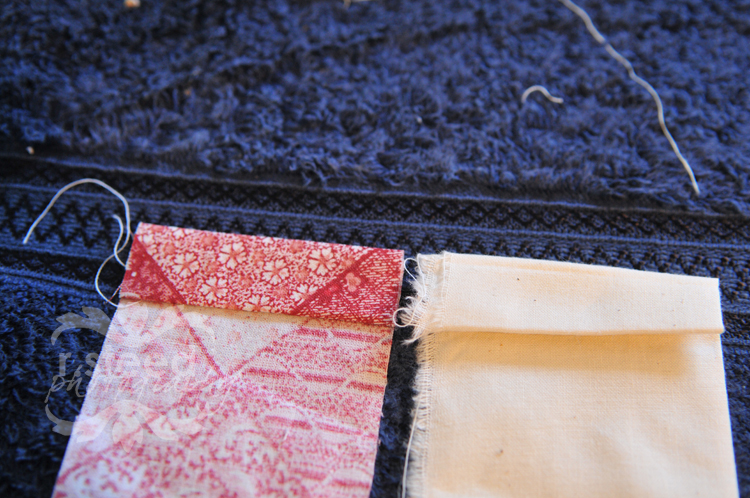
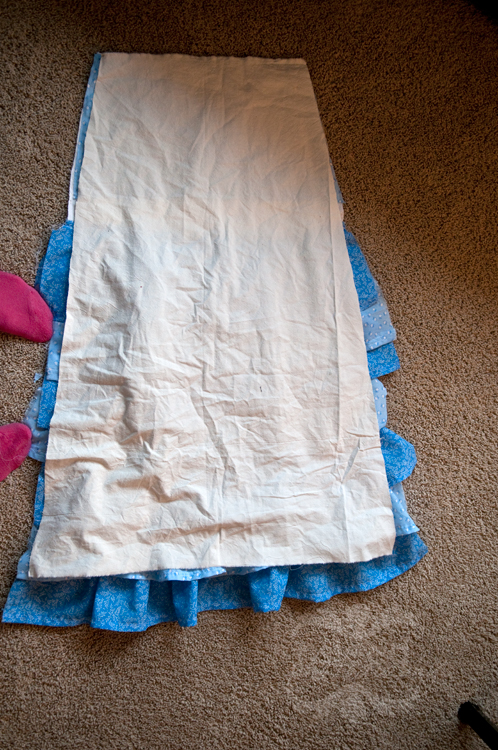
First you need two pieces of plain material for the back and the backing to the ruffles. I used plain muslin that I had around. I cut out two of these shapes.
adultdimensions
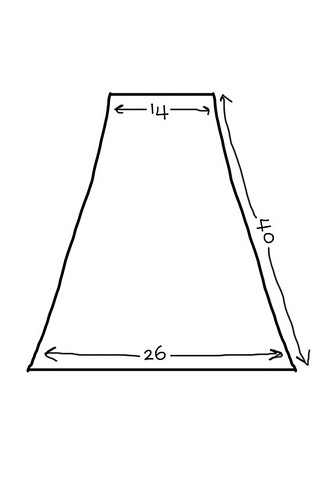
(for a little girl one I made it 8" wide at the top with 20" wide at the bottom and 20" long.)

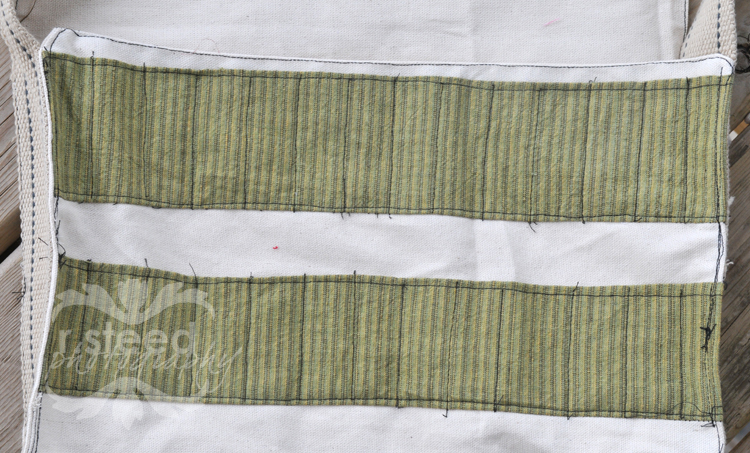
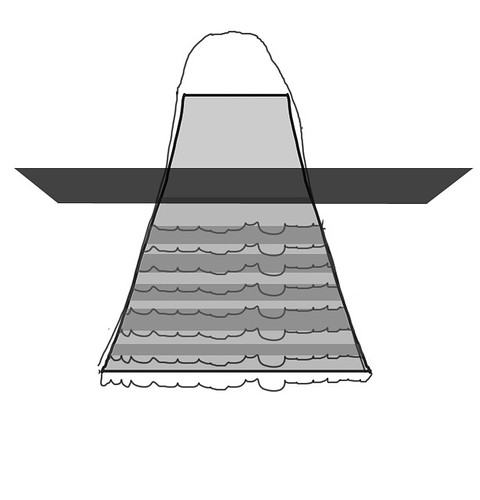
Then cut out seven 8" wide strips that are at least 6" longer than the width of the apron. This drawing should explain that more.
adultstrips
So the gray shows the strips and how their lengths that should overlap. You also need one piece to cover the top of the apron like the top gray square.


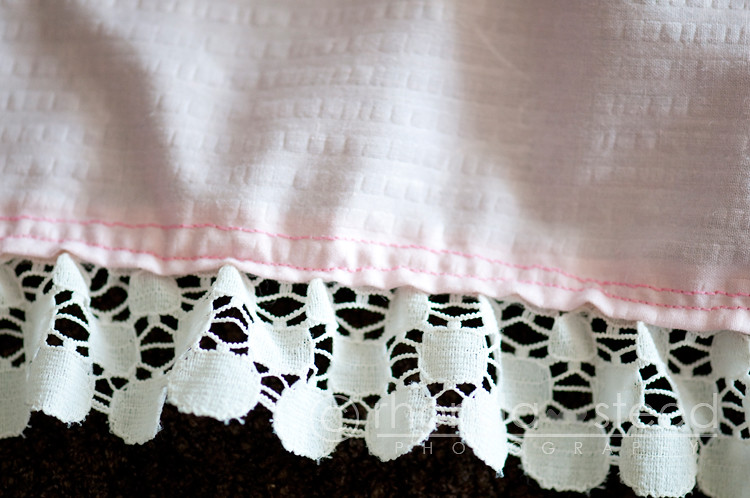
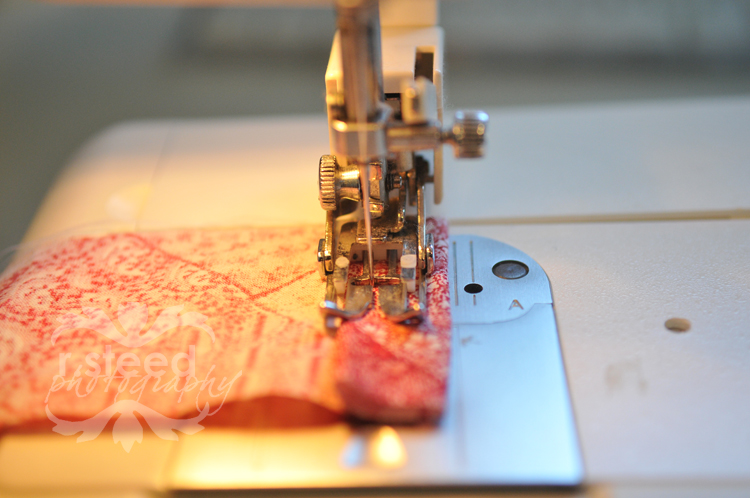
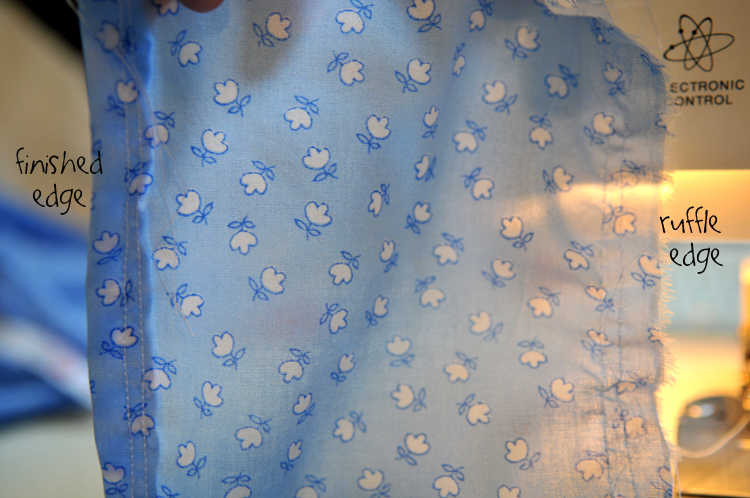
Then you are going to start sewing your ruffles. Finish the bottom edges by folding them over twice and sewing them.
DSC_4589
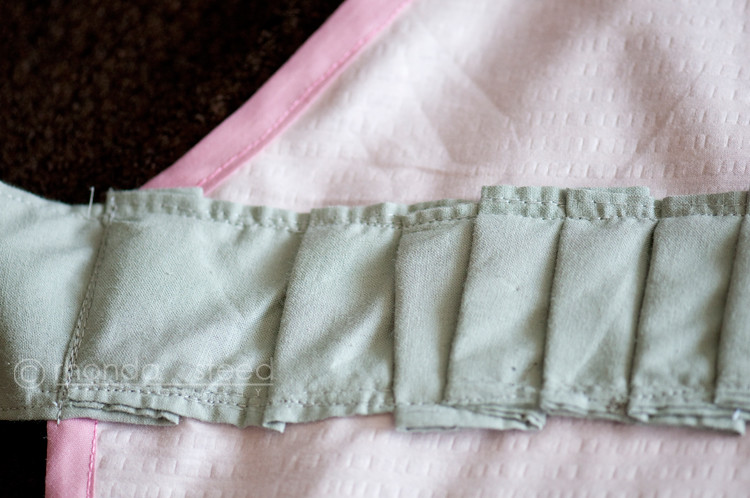
I used the quick method of making a ruffle by turning up my tension and my stitch size and high as possible. It practically ruffles it for you. And i love it :)
DSC_4592

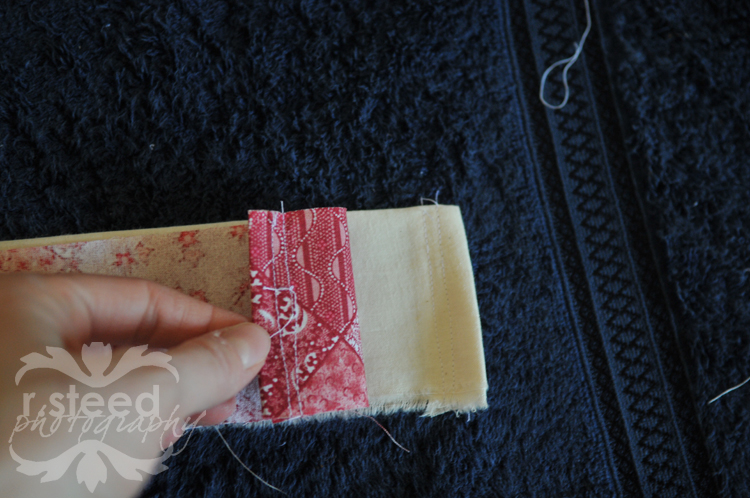
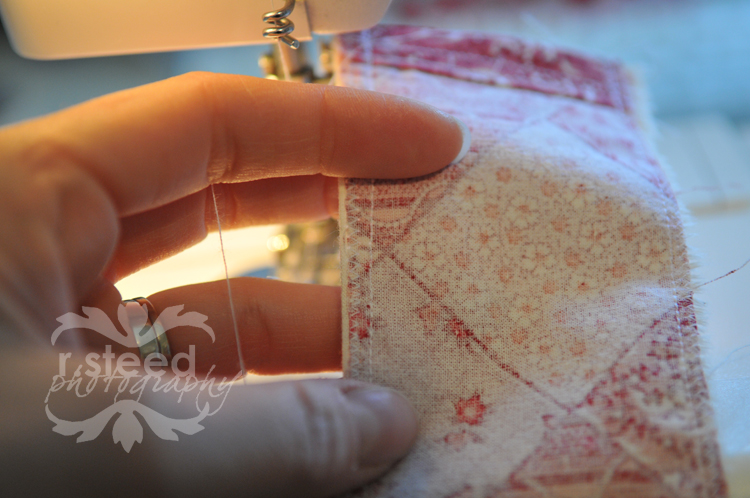
Sew your top bodice piece on your backing fabrics first. Then start sewing your ruffles on from the bottom up. Layering them.
DSC_4594
The bottom ruffle needs to hang OVER the bottom of the backing muslin. The top ruffle should leave a gap from the top bodice piece.
DSC_4677

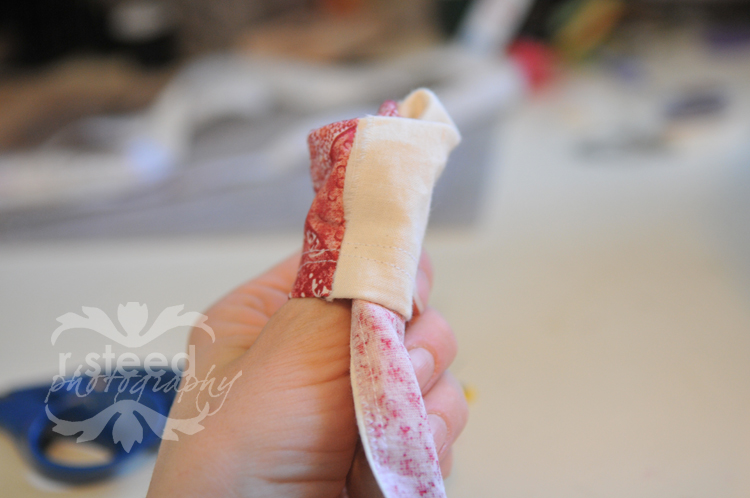
Put the good side of your extra muslin (that you first cut out) onto the good side of your ruffly apron. And sew down the sides and the top but NOT the bottom. Leave it completely open. You will be sewing down your ruffles, so make sure they are pinned in place!!
DSC_4679
Then turn your apron top inside out. And carefully sew the bottom closed sewing ONLY the two pieces of muslin together and leaving your ruffle alone. It's a little awkward but I think you can figure it out ;)

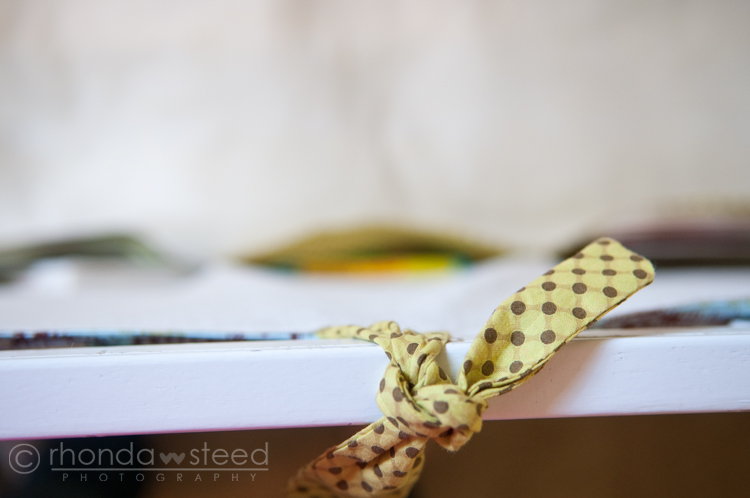
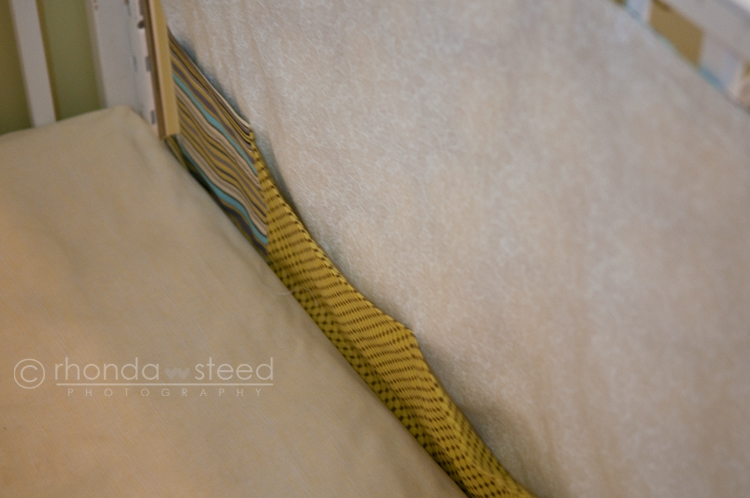
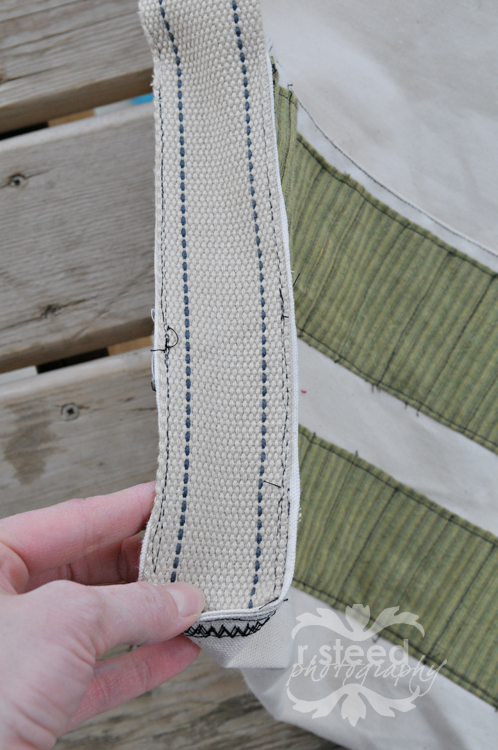
Then using bias tape start at the bottom corner and sew the edges of the apron, sewing up and around to make a strap for the neck, making sure you start at the bottom edge of the bottom ruffle. You can make your own bias tape which is what I did (there are LOTS of tutorials online to show you how to do that) or just buy some that matches.
adultneckstrap

Last thing you need is a waist strap!! Cut another two 8" wide strap that will be long enough to go around you. Sew them together good sides together and turn them inside out. Sew them right on top of the apron.
adultstrap
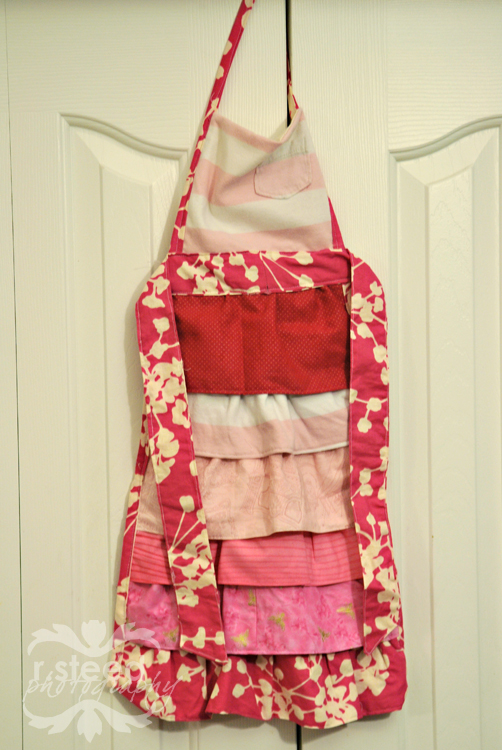
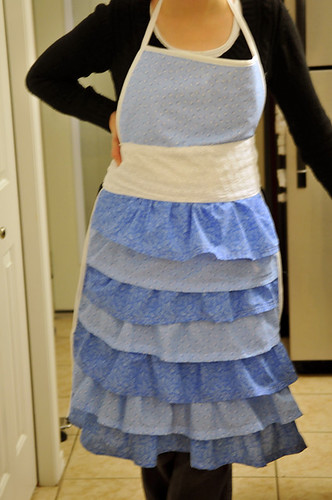
And viola. You are done!!
DSC_4706

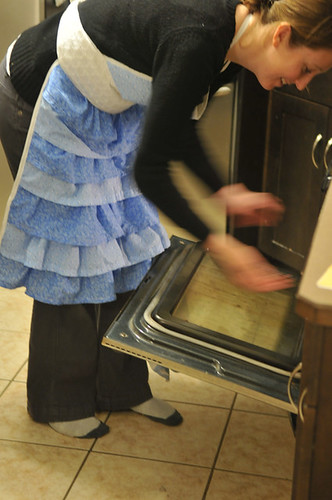
Regan took these pictures last night. And well, they are blurry (he said his heart just wasn't into it :) ) but he did tell me I had to pose so you could see it in action. So this is me pretending to put something into the oven at 1030 at night. hahahahaha
DSC_4707

I'm linking it up to a Soft Place to Land and Sew Cute Tuesday and Today's Creative Blog

So here is the deal.
One entry for a comment.
Another one for being a follower.
And another for blogging about the giveaway. Good luck!
I'll leave this giveaway until Friday!

Tuesday, March 16, 2010

In the Craft Room: Alden's Church Bag

Lots of you loved Lucy's church bag (as seen here). (Thanks!)

Well this guy has been bugging me for a few weeks for his own church bag.
DSC_4299 (isn't he so handsome!)

So I came up with this! I've had it half started for like 2 weeks but I needed a fabric belt for the strap and I finally went to Thrift Village and got one!! I followed a tutorial on the great blog Create Studio called the Mr Postman Mail Bag and I just made some alterations.

DSC_4387

I added pockets on the inside for the crayons.
DSC_4390
Added a big A on the front. (that would have been a lot easier had I had wonder under.... but whatever it worked out!)
DSC_4389
And instead of using the strips of fabric down the sides, I just cheated and used my belt the whole way down.
DSC_4391
I actually made it a bit wider too since I know he will be filling it with papers for church since that's what it's for ;) One day I really should buy some thread that matches things too since I normally only have pink, white and black (and the white's almost gone!) and then you wouldn't seen my bad sewing so much. But oh well - it's HOMEMADE hahahahahaha :)
DSC_4310
(thanks to Regan for the picture of the two of us!!)
Ah how I love him and I hope he loves his bag!!!

I Linked it up!
Photobucket


And at Amy Lou Who