Showing posts with label Silhouette. Show all posts

Wednesday, March 14, 2012

In the Craft Room: Love is Spoken Here

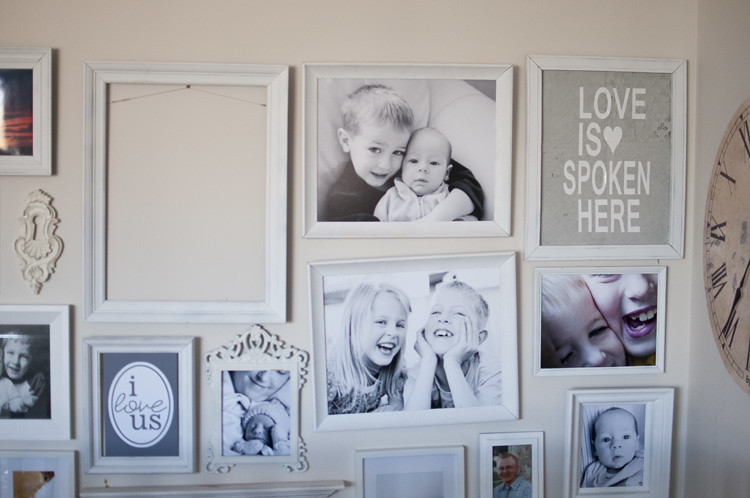
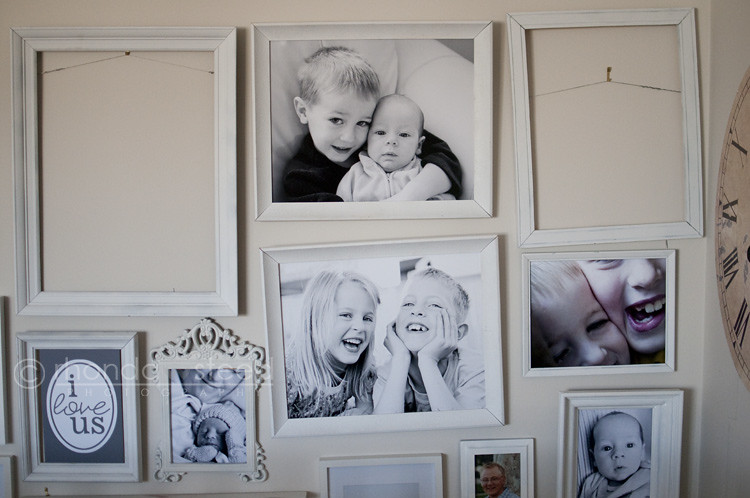
Above my stairs I have a photo wall that I love. But I have a few empty frames that need to be filled. Funny thing is most of these old frames are not regular sizes so I've had to get things printed and then cut them to size. But they also have no backings and no glass. Yep in some ways it's a pain. (But my mom gave them all to me free so that is good!)

DSC_7428

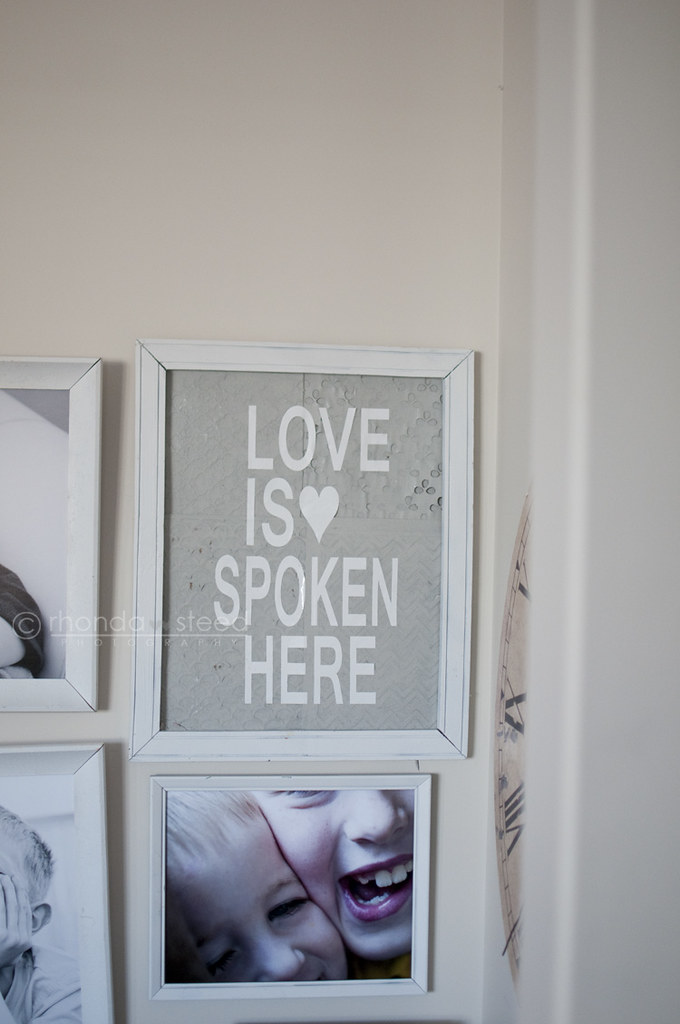
Well I was thinking about my frames one night and thought of making something to fill one of them. And this is it.
DSC_7468

I made it with my fancy Silhouette Cameo machine .

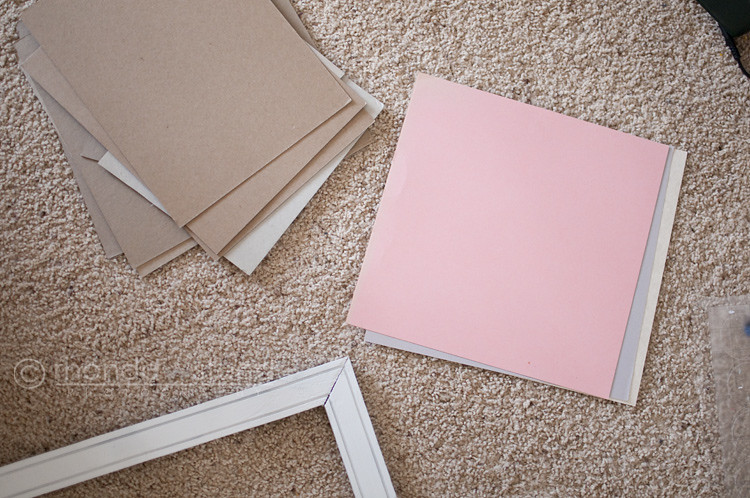
My supplies: an old painted frame, a pile of 12x12 chipboard pieces, and some cardstock in colors I didn't like.
DSC_7429

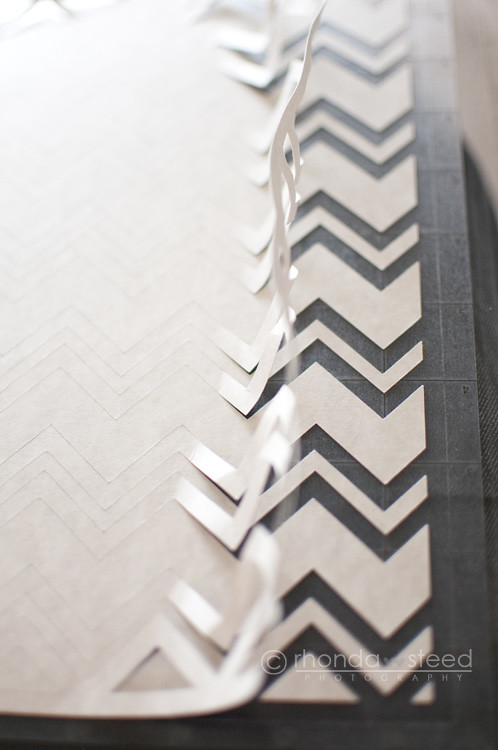
First I cut out 12x12 whole background sheets on my Cameo.
DSC_7431
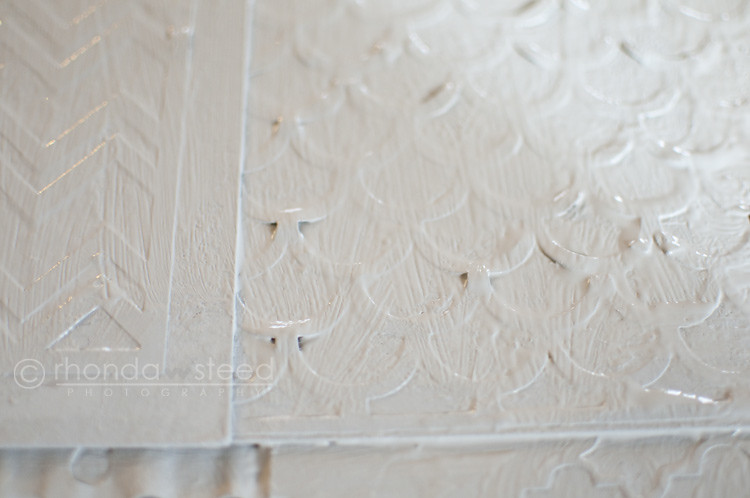
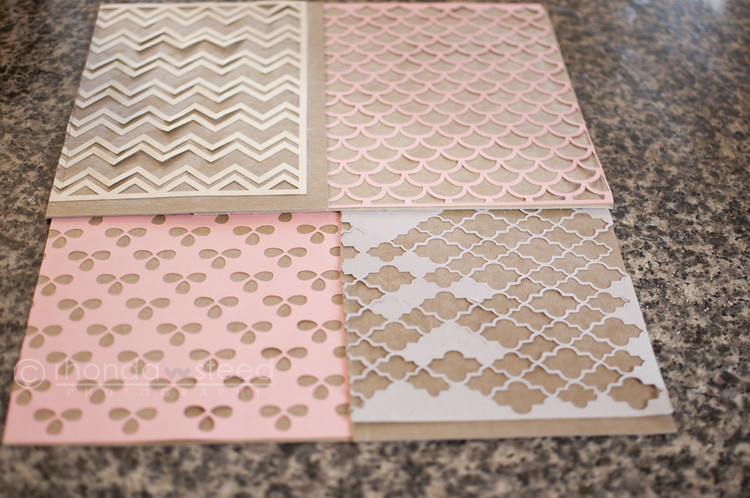
I used background_double_chevron_C01271_19547, large_eyelet_lace_C00057_19547, a scalloped background (I couldn't find to link again) and a moroccan background (also couldn't find).


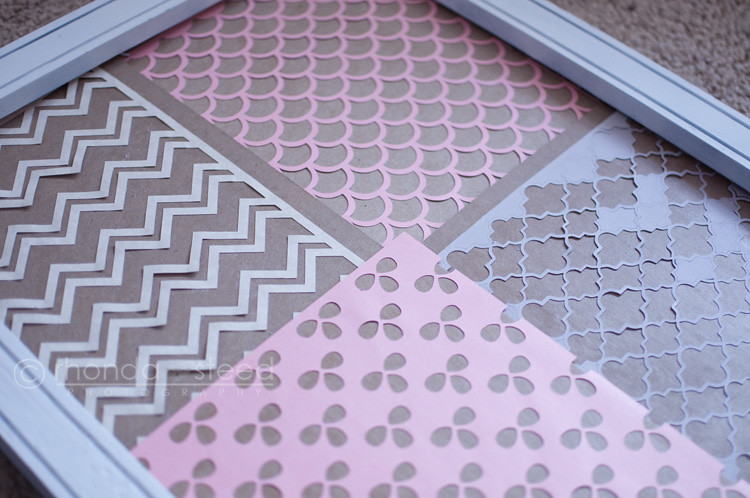
After I cut them all out I glued them onto my chipboard pieces and fit them together to make the size of my frame.
DSC_7461

Like this (my color is all off on this picture.... whoops)
DSC_7459

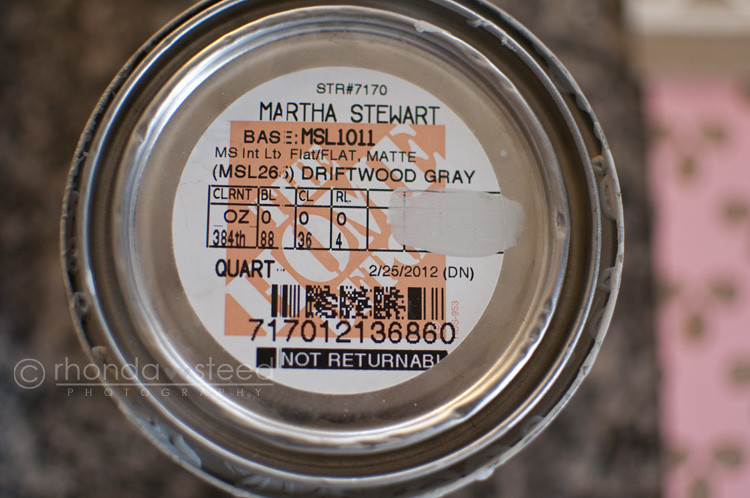
The I painted the whole thing with my favorite gray from Martha Stewart called Driftwood gray
DSC_7462

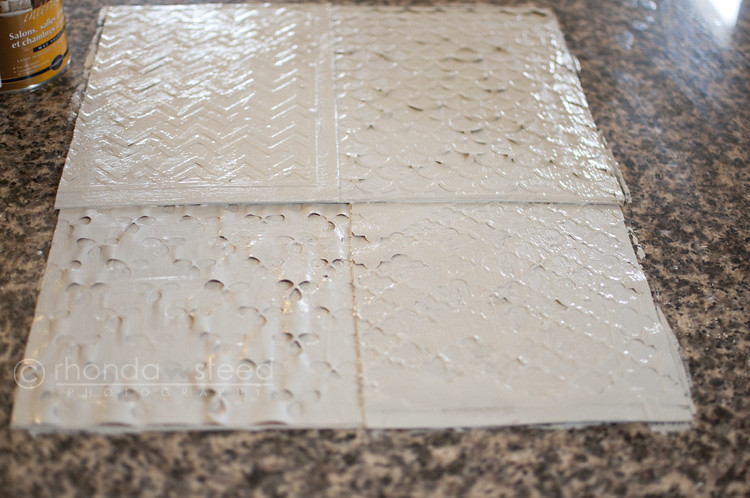
Coat one - the paper started to buckle a bit so I had to press it down after...
DSC_7463

Coat two
DSC_7465

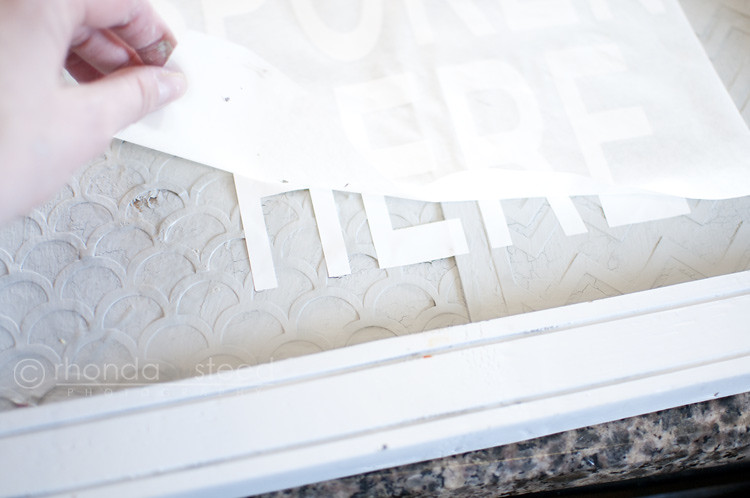
Then I added my vinyl letters. I don't have any vinyl for my Silhouette or else I could have just cut this part out too but instead I had to ask a lady who cuts vinyl to cut it for me.
DSC_7467

And this is the end result again.
DSC_7468

Here it is on my wall...
DSC_7470

(one more frame to go... and lots to straighten :) )

And this little man laid beside me while I worked on it :)
13 March 2012

My art that a few of you have asked about was done similarly.
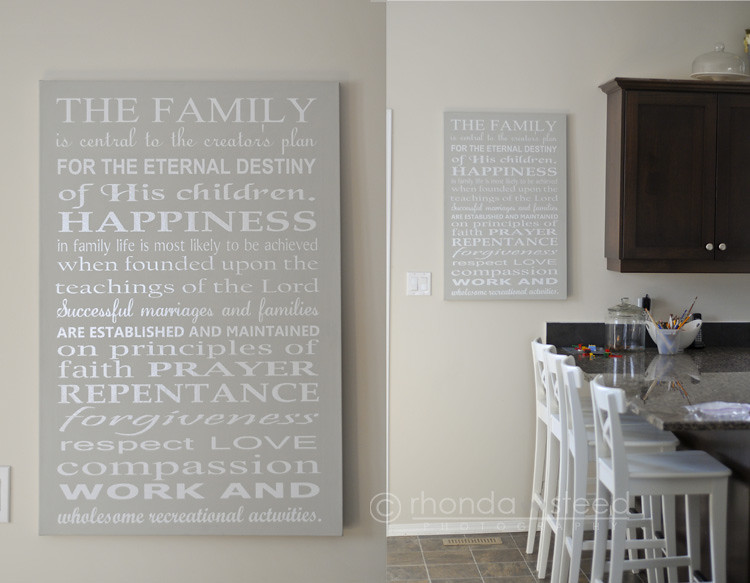
28 February 2012
Except i bought a 24x36 canvas and painted it (the same gray) and then put my vinyl on top. I also got it cut by the same lady. She doesn't have a website but she has an email that you can order from her if you want. Email me and i'll forward it along to her if you'd like.

Linking it up here:
The 36th AVENUE


Monday, January 30, 2012

In the Craft Room: Project Life

Well I revamped my Project Life. So here is the new title page. (you can see the original I did here.)
Project Life: Title Page

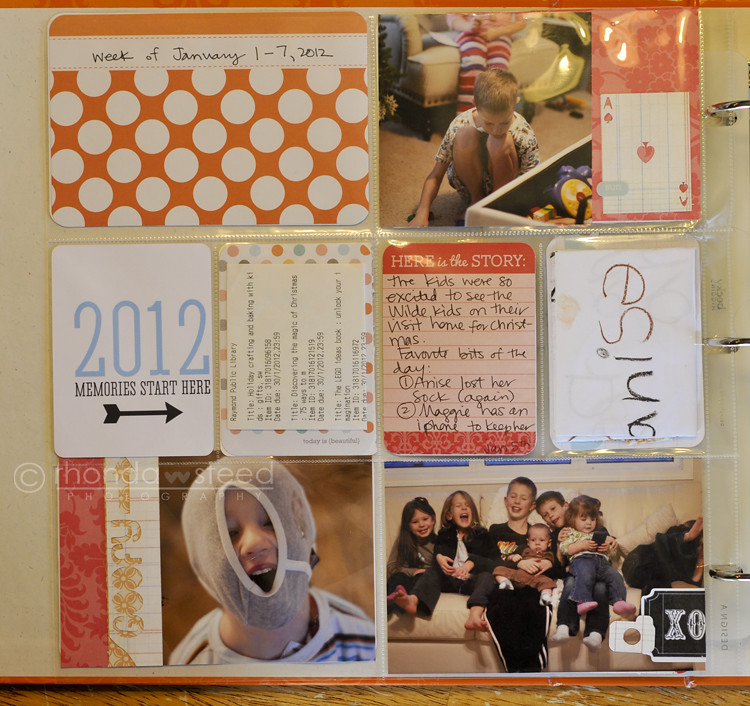
Week 1 Page 1:
Project Life: week 1 pg 1
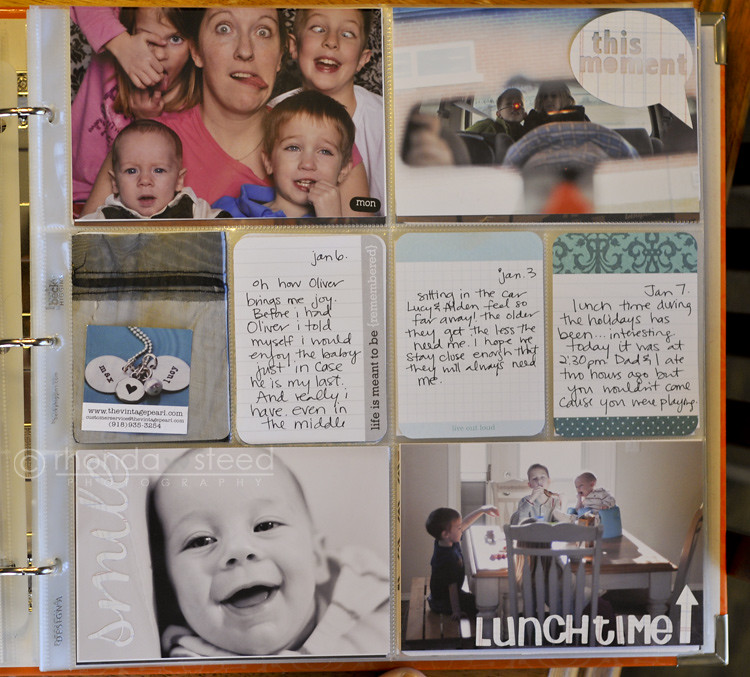
Page 2:
Project Life: week 1 pg 2
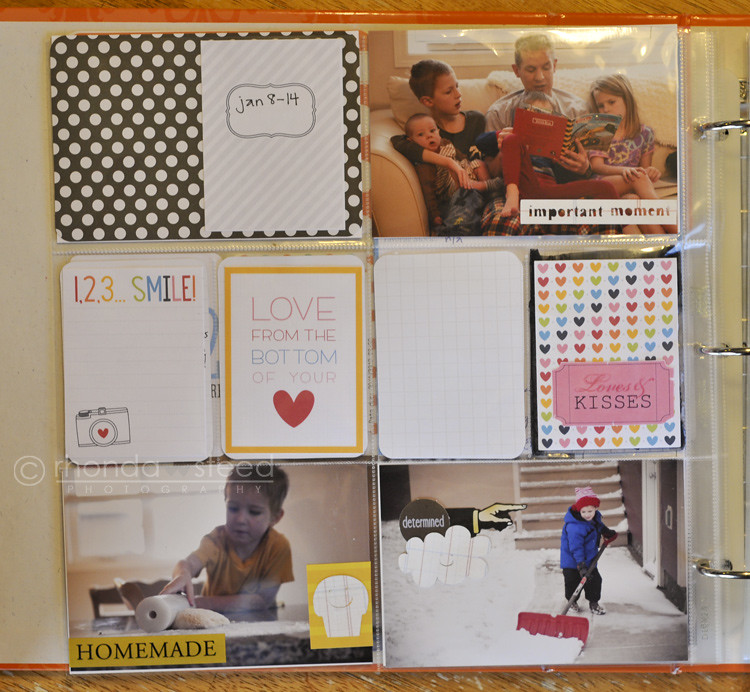
And then inserts in between those pages. I decided that I wanted the ones the kids ACTUALLY filled out so you could see their writing in all it's messy gloriousness.
Project Life: week 1 inserts

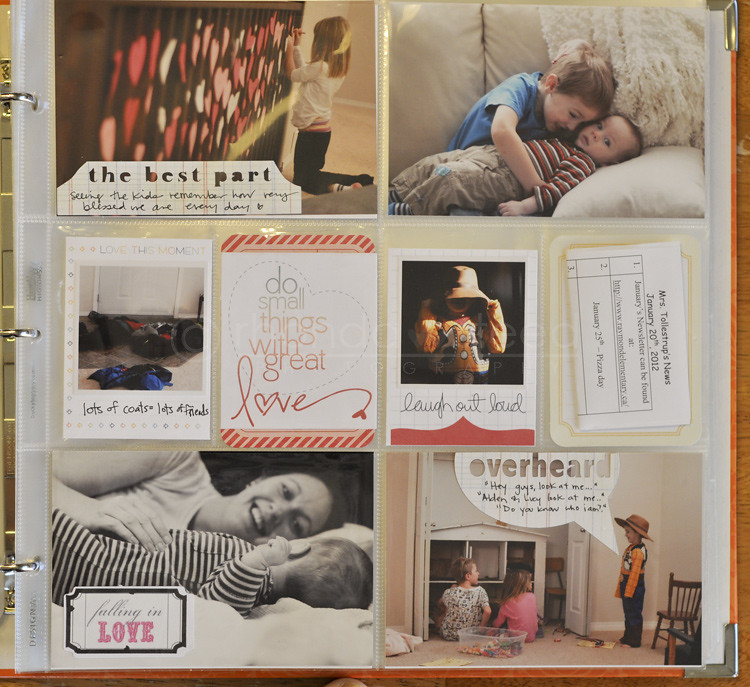
Week 2 Page 1:
Project Life: week 2 pg 1
Page 2:
Project Life: week 2 pg 2

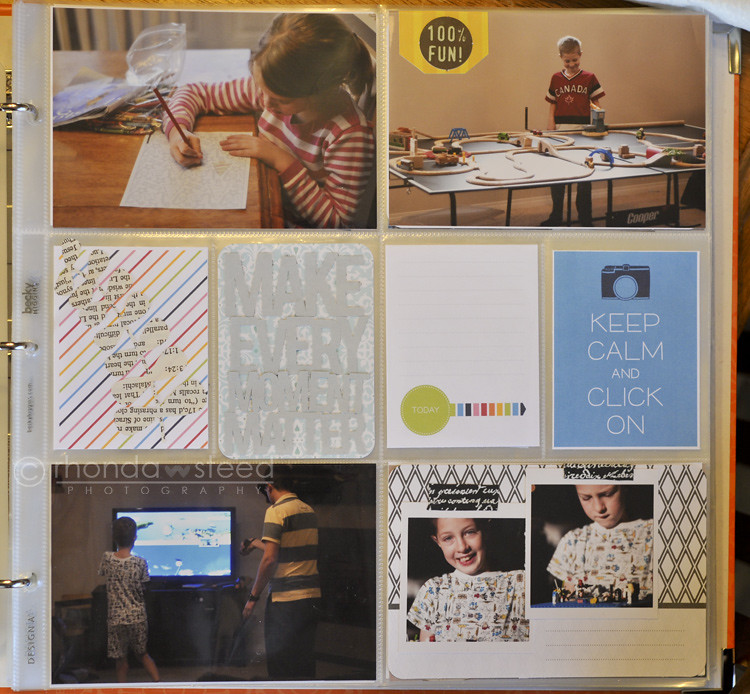
Week 3 Page 1:
Project Life: week 3 pg 1
Page 2:
Project Life: week 3 pg

I am much happier with it all now. I made some smaller prints, added some quotes and a lot more life stuff. Still have some journaling to do but I have that all done on my flickr photos - I just have to decide how much to actually write in my album.

I found lots of printables and templates make right for the PL online that I used too. Like these and these and these and these and these.

This post is participating in


Wednesday, January 11, 2012

In the Craft room: Project Life

Sooo I thought I'd share what I am doing with my 365 pictures this year. Using Becky Higgins' great Project Life to make an album as we go.


The great thing is that now I have a great printer, my awesome new Silhouette AND project life. Am I spoiled or WHAT!!! So today I did this....
My new fancy toy

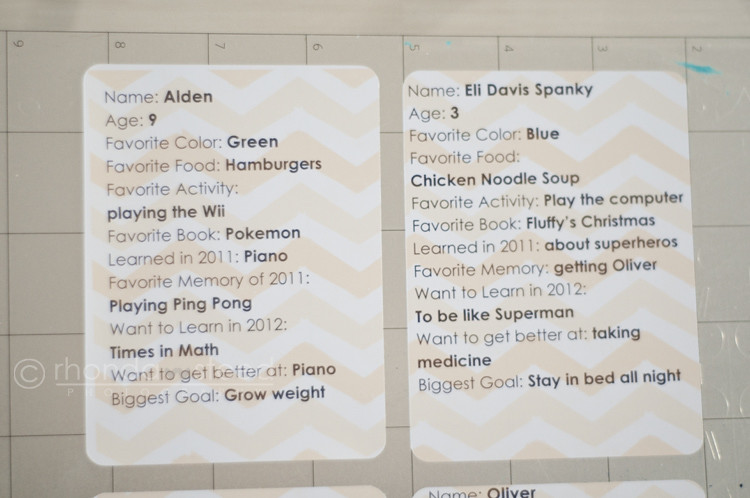
First I designed my journalling cards in Photoshop and printed them on my Canon PIXMA MG5220 printer. I used some digital scrapbooking paper from Erica Hernendez. I just used the rulers (although I have to say rulers in the Silhouette program would be REALLY helpful!!) and lined it up. Yes it took a few tries but I did then get these about each member of our family. (I wrote whatever my kids said so yes there are some silly answers!)
about my kids

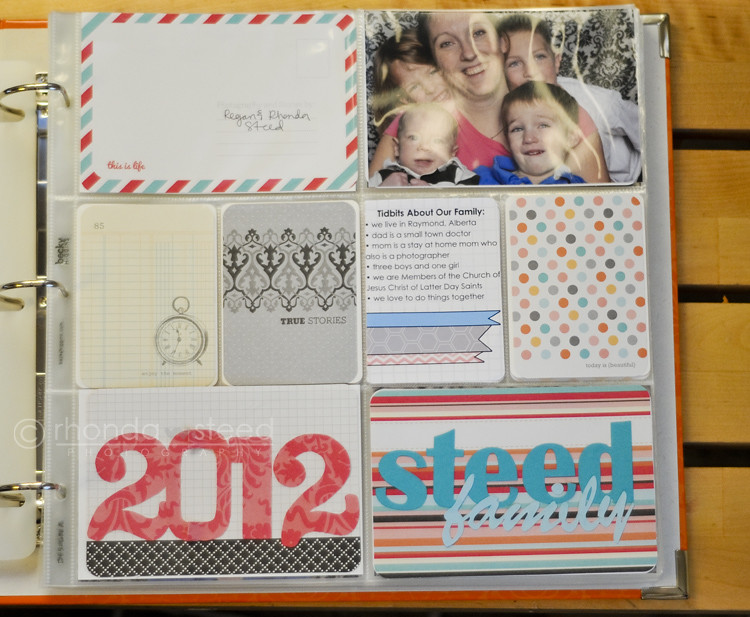
So here is my title page.
Project Life - opening page
All Project life stuff plus some American Crafts cardstock that matched and another little journaling card I made about our family. The top picture will get replaced with a family picture as soon as I take one this year!

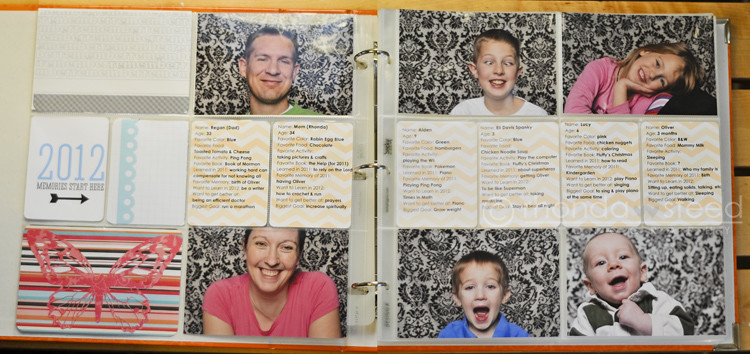
And here is my inside spread.
Project Life
I got the 2012 card from here and I just changed the color of 2012 to what I wanted (aint photoshop GREAT!) and then all the cut stuff I used my Silhouette for. The Butterfly is a font I have.

From now I am doing week at a glance spreads. But I liked this to give a snapshot at where we are right NOW starting the year.