
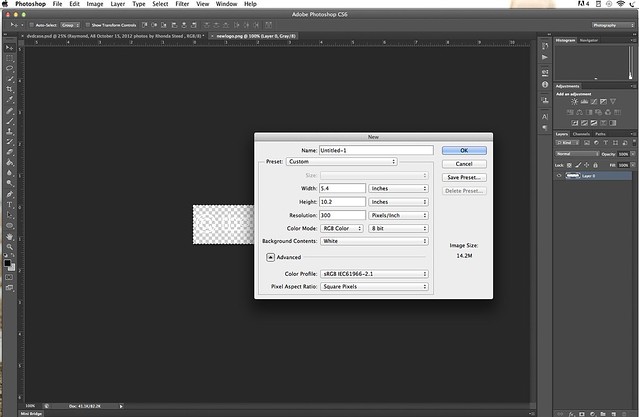
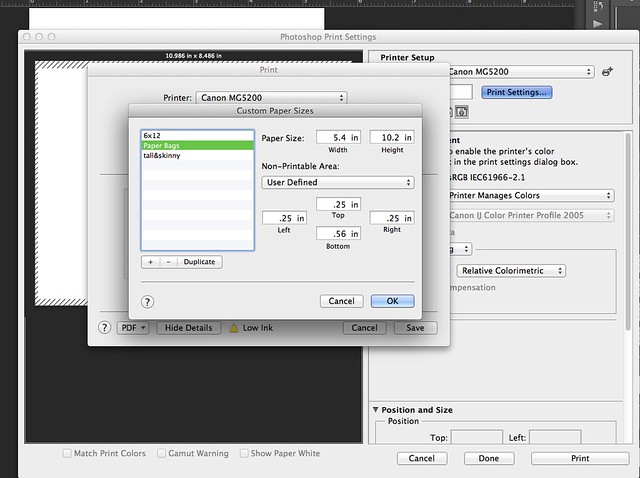
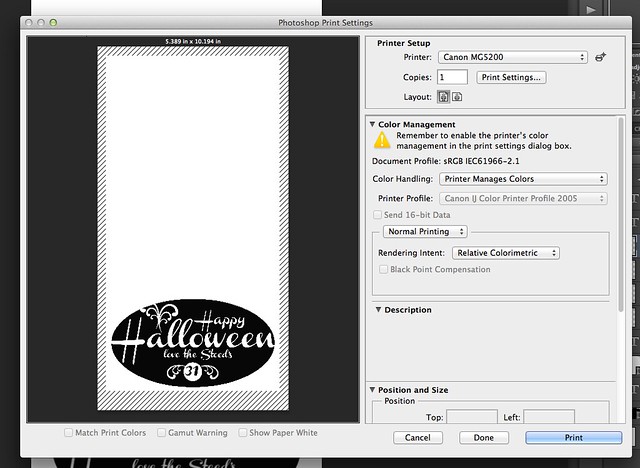
First up a regular lunch bag is sized 5.4 in x 10.2 in. So you make a photoshop document that size.
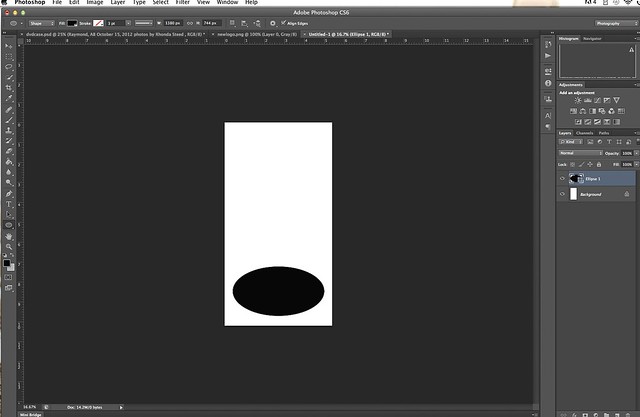
Then I added a black oval.
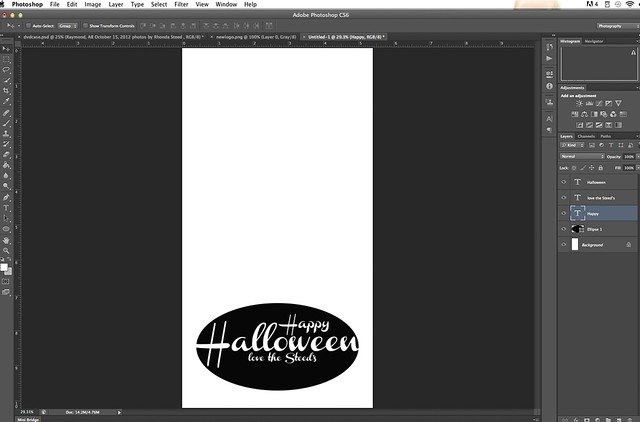
And all my wording (I used the font channel that you can download it here)
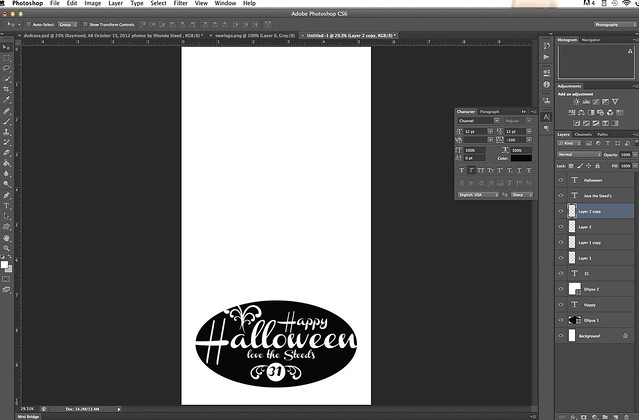
and my little artsy touches.
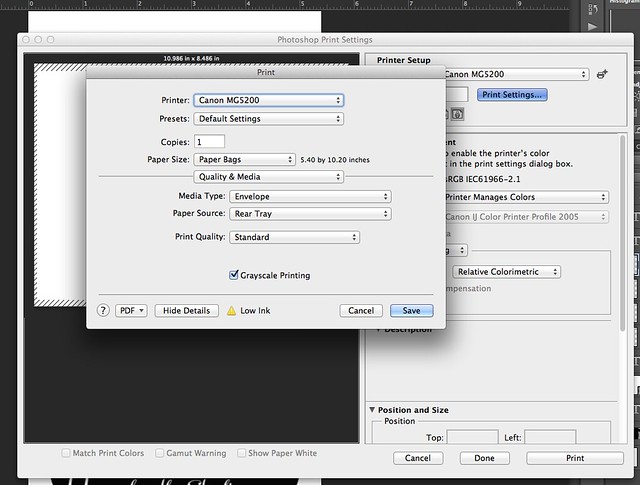
Send it to print and this screen comes up
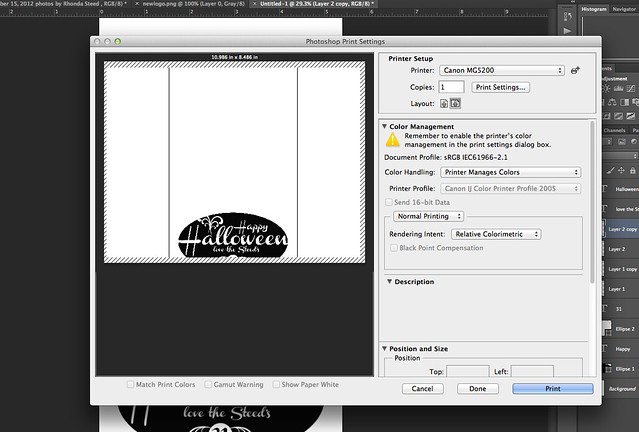
Click on "print settings" and this one comes up

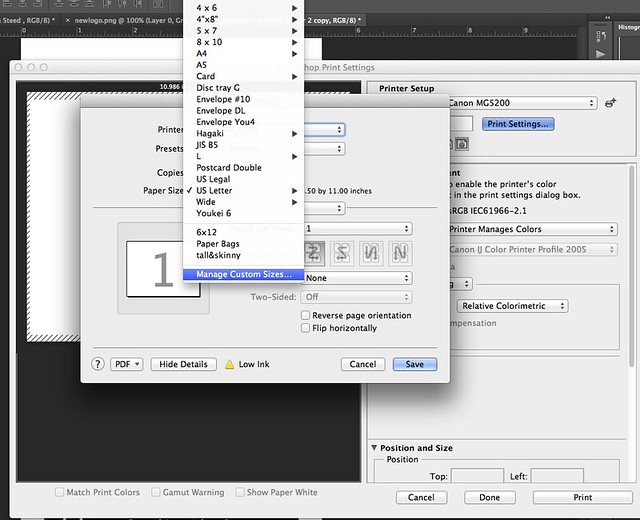
You want to pick "Manage Custom sizes"
And then you need to add one (I already did it here) by clicking that little plus sign on the left hand side and type in the size of the lunch bag.
Then you have to click on "Quality and Media" and choose envelope from the menu.
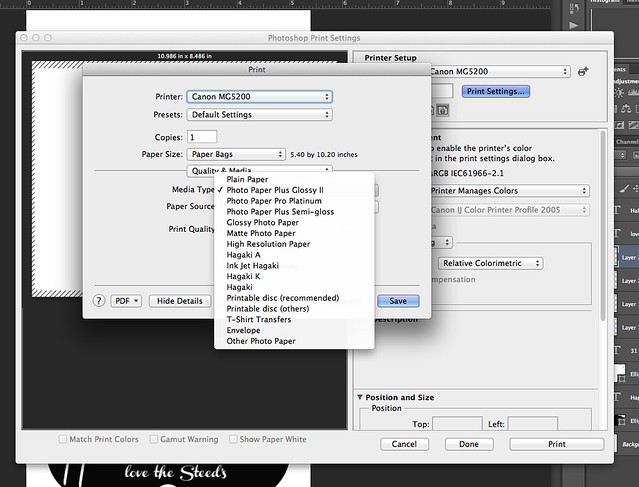
And I picked greyscale since I'm only printing something black.
And it should be ready to go... so send it to print.
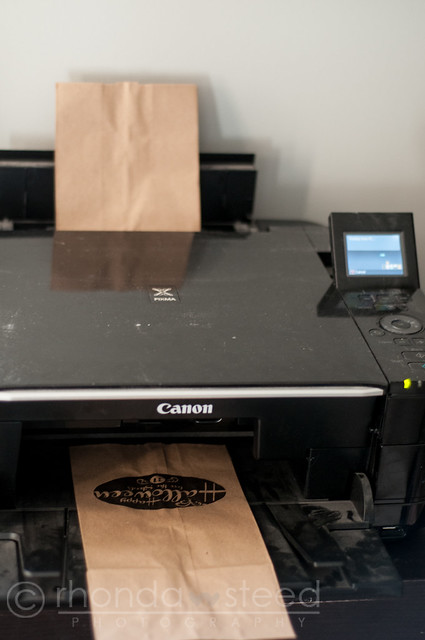
Watch with anticipation as it comes out....
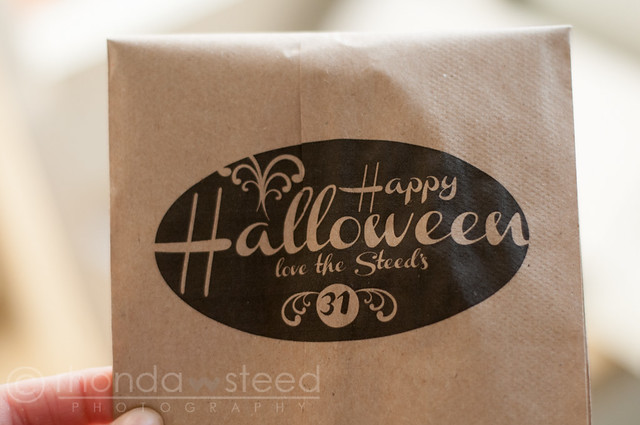
Then you end up with a fancy little bag for treats.
Two tips:
1. My printer couldn't handle having lots of bags just stuffed in the rear tray. I could put two or three in and then add more as it printed.
2. Make sure you tell your printer it's an envelope (so it knows it's something thick!)
2 comments:
cute! thanks for the tutorial
thanks for sharing this tutorial on
Printed bags ....nice one..
Post a Comment